
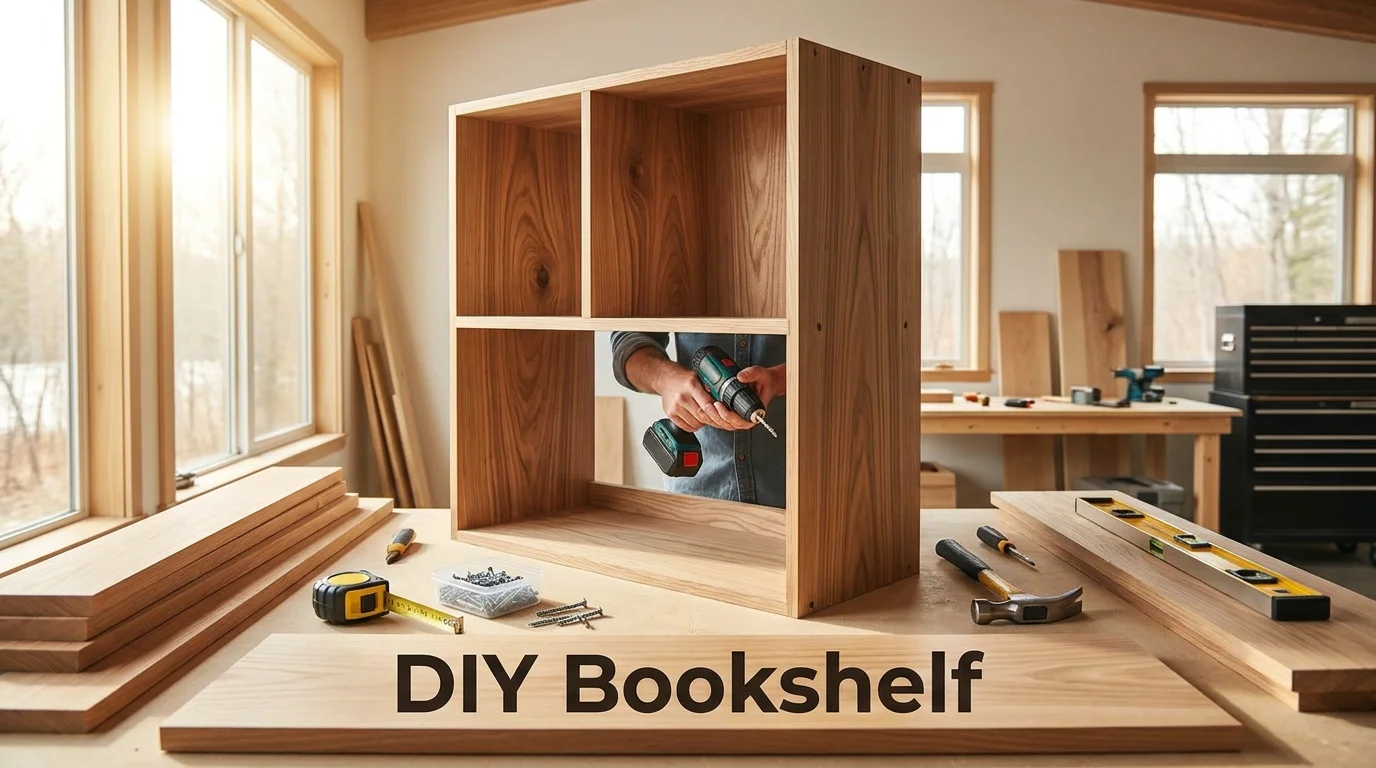
A DIY bookshelf gives you useful storage without forcing you to settle for a store-bought size or finish. A straightforward freestanding design can also be a manageable first woodworking project if you keep the dimensions simple. This guide shows you how to plan, build, finish, and secure a practical bookcase using common materials sold in U.S. home-improvement stores.
A beginner-friendly bookcase starts with two side panels, several horizontal shelves, and a back panel that helps keep the frame square. Keep the unsupported shelf width modest, pre-drill your fasteners, check the frame for square during assembly, and secure the finished unit to the wall before loading it with books.
Quick Project Information
| Project detail | Beginner-friendly recommendation |
|---|---|
| Skill level | Beginner to intermediate |
| Approximate build time | One afternoon, plus finish drying time |
| Suggested width | About 30 inches |
| Suggested height | About 48 inches |
| Suggested depth | About 11–12 inches |
| Main material | 3/4-inch plywood or suitable dimensional lumber |
| Shelf span | Keep near 30 inches for a simple unsupported design |
| Useful tools | Tape measure, square, saw, drill/driver, sander, clamps |
| Finish options | Interior paint, stain, or clear wood finish |
| Final safety step | Secure the unit to a wall with suitable anti-tip hardware |
A compact design is easier to keep square and reduces the chance of shelves sagging under a full row of books. BLACK+DECKER gives roughly 12 inches deep, 30 inches wide, and 48 inches tall as useful dimensions for a basic project, and recommends additional support when shelves extend beyond about 32 inches.
Key Takeaways
- Measure the room and the books before buying lumber.
- A roughly 30-inch shelf span keeps this beginner build manageable.
- Plywood and solid wood can both work, but their cost and appearance differ.
- A back panel improves rigidity and helps the cabinet stay square.
- Sand before assembly when possible because inside corners become harder to reach later.
- Anchor freestanding furniture to the wall, especially around children.
What You’ll Need Before You Start
For a simple build, choose straight, flat material rather than the cheapest boards in the pile. Three-quarter-inch plywood is a practical option because it offers consistent thickness and good strength, while pine suits builders who prefer a solid-wood look. This Old House identifies plywood and solid wood as the two main material categories worth considering for home book storage.
Your basic tool kit should include a tape measure, pencil, carpenter’s square, saw, drill or driver, sander, clamps, and appropriate eye protection. You’ll also need wood glue, screws suitable for your chosen stock, sandpaper, and paint or stain if you want a finished surface. A 1/4-inch plywood back is optional, but it makes a simple freestanding unit considerably easier to keep rigid and square.
For a 30-inch-wide by 48-inch-tall design made from 3/4-inch material, you can start with two side panels about 48 inches tall and 11 to 12 inches deep. Cut the horizontal pieces to approximately 28 1/2 inches so they fit between the two side panels, resulting in a total outside width near 30 inches. Measure your actual material before cutting because nominal lumber and sheet-good dimensions do not always match the number printed on a project sketch.
How to Build a DIY Bookshelf in 7 Steps
1. Measure the Space and Decide What the Shelves Must Hold
Measure the available wall width, ceiling height, baseboards, outlets, and nearby furniture before choosing your final dimensions. Then measure several of the tallest and deepest books you plan to store so the openings will fit what you own. Oversized art books and binders need more depth and vertical clearance than standard novels.
Keep the design modest for a first project rather than building a floor-to-ceiling unit immediately. A smaller case is easier to move, square, and secure, and mistakes waste less material. If you later want a more architectural appearance, HomeVotel’s seven home updates that instantly boost a room’s appeal can help you plan a larger room update.
2. Mark and Cut the Wood
Lay out every cut before switching on the saw, and label each finished piece as a side, shelf, top, bottom, or back. Cutting matching pieces together or checking them against one reference piece can reduce small measurement differences. The Home Depot’s current project guide also recommends preparing the lumber and marking shelf positions before frame assembly.
Use a straightedge or guide when cutting sheet goods with a circular saw. Support the material on both sides of the cut so the waste piece cannot tear away or bind the blade. Wear appropriate eye protection and follow the safety instructions supplied with every power tool you use.
3. Sand and Prepare the Parts
Sand the faces and exposed edges before assembly, starting with a suitable medium grit and moving to a finer grit as needed for your finish. Pre-sanding saves time because the inside corners become harder to reach after the case is screwed together. Remove the sanding dust before applying glue, paint, stain, or clear finish.
Plywood edges can be left visible for a workshop look, covered with wood trim, or finished with iron-on edge banding. Solid lumber may only need its corners softened and surfaces smoothed. If appearance is a major goal, HomeVotel’s simple ideas for improving a room’s aesthetic offers useful context for coordinating shelves with surrounding furniture, lighting, and wall decor.
4. Mark the Shelf Positions
Place the two side panels together with their ends aligned, then mark matching shelf positions across both pieces. Using one measurement setup for both sides reduces the chance of installing a shelf higher on one side than the other. Check the spacing against your books before drilling any permanent holes.
Fixed shelves make the frame rigid, while shelf pins give you more flexibility as your storage needs change. If you choose adjustable shelves, follow the hardware manufacturer’s spacing and drilling instructions. BLACK+DECKER notes that adjustable designs can provide greater storage flexibility than fixed arrangements.
5. Assemble and Square the Main Frame
Start with the top, bottom, and side panels on a flat work surface. Apply wood glue where the parts meet, pre-drill where needed to reduce splitting, and drive the appropriate screws without burying them too deeply. Add the interior shelves one at a time while checking your reference marks.
Measure diagonally from opposite corners after the basic frame is together. Matching diagonal measurements indicate that the rectangular case is square, while unequal measurements mean the frame needs adjustment before the back is attached. Clamps can hold the unit in position while you make those corrections.
6. Attach the Back and Apply the Finish
Set the frame face down, confirm it is square again, and attach the back panel around the perimeter and across fixed shelf locations where appropriate. The back resists side-to-side racking, which can make a tall open case feel loose even when its screws are tight. Keep the panel aligned with the outside edges before fastening it permanently.
Fill visible holes if your finish calls for a clean furniture look, then apply your chosen paint, stain, or clear coating according to its instructions. Allow the coating to cure before filling the shelves rather than loading the unit while the surface is still soft. HomeVotel also covers small interior changes that can refresh a room if you want the finished project to become part of a broader makeover.
7. Anchor the Finished Unit Before Loading It
Move the case into its final position and check that it sits level and stable. Use appropriate anti-tip hardware to secure it to suitable wall structure, following the hardware manufacturer’s instructions and accounting for your wall type. Place heavier books toward the lower part of the unit rather than concentrating weight near the top.
This final step deserves the same attention as the woodworking. The U.S. Consumer Product Safety Commission advises consumers to anchor furniture such as bookcases securely to the wall and to keep heavier objects on lower shelves.
Choosing the Right Wood for Your Project
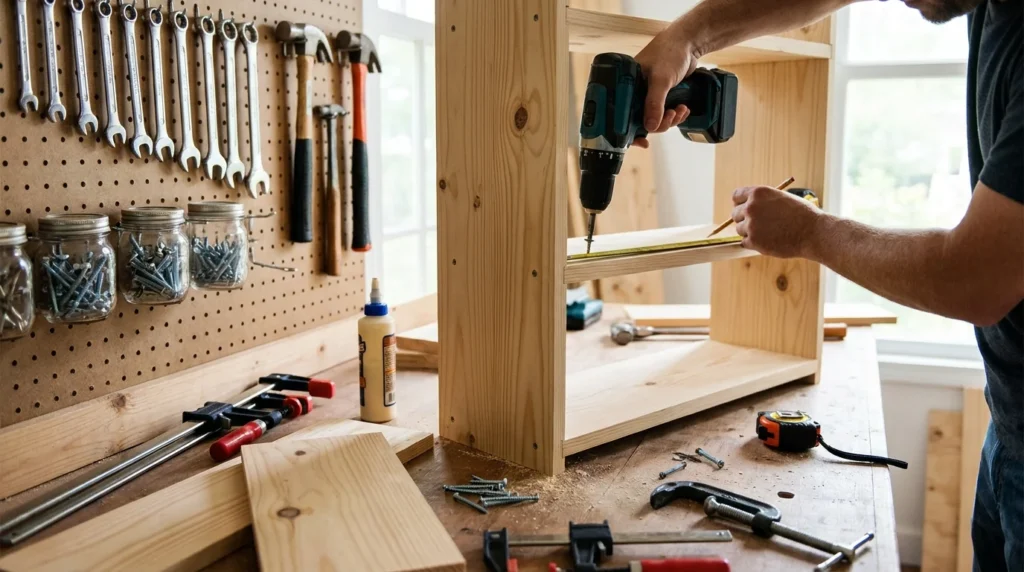
Plywood is convenient for clean, straight panels and usually requires fewer glue-ups than narrow solid boards. Higher-grade hardwood plywood can also provide an attractive face while maintaining a predictable structure. Lower-cost sheets may have more visible patches, voids, or edges that need covering.
Pine is another approachable choice when you want a traditional solid-wood appearance. It cuts easily and accepts many finishes, although softer wood can dent more readily during use. Oak and other hardwoods can provide a harder surface but usually increase material cost and may be less forgiving for a first build.
Think about the room itself rather than choosing wood species alone. A painted plywood case can work well in a modern office, while stained wood may suit a warmer living room or reading corner. HomeVotel’s modern renovation and storage ideas can help you connect the finished piece with other storage and workspace choices.
How to Prevent Shelves From Sagging
Shelf sag usually becomes more likely as the unsupported span increases, the shelf becomes thinner, or the stored load increases. Keeping this project around 30 inches wide provides a sensible starting point without adding center supports. BLACK+DECKER specifically advises thicker material or midspan support for shelves longer than about 32 inches.
You can strengthen a longer run by adding a hardwood strip to the front edge, using thicker stock, installing a center divider, or adding another vertical support. A secure back panel can also help the case resist racking, although it does not replace proper shelf support. Avoid designing long, thin shelves and then expecting them to hold tightly packed hardcover books indefinitely.
Common Mistakes to Avoid
The first common mistake is building from room dimensions without measuring the objects that will sit on the shelves. Another is cutting every part before confirming how the pieces overlap, which can leave the finished case wider or narrower than planned. A third is skipping repeated square checks during assembly and discovering the problem only when the back panel no longer fits.
Finishing errors can cause frustration as well. Paint applied over dusty wood, uneven sanding, and rushed drying times can make a structurally sound project look unfinished. Test stains and paint colors on scrap material first, especially when using pine or veneered plywood.
The most serious mistake is treating anchoring as an optional decorative step. A freestanding case loaded with books can become top-heavy, and climbing children can add forces the builder never expected. U.S. safety guidance consistently recommends securing bookcases and other potentially unstable furniture to the wall.
Make the Design Fit Your Home
A good homemade bookcase does not need complicated joinery or expensive lumber. Accurate measurements, square assembly, sensible shelf spans, and a secure wall connection matter more than decorative details during your first build. Once those basics are right, paint, trim, edge treatments, and styling can make a simple structure look intentional.
Start by measuring the wall and the books you already own, then sketch the project before purchasing materials. Keep the first version straightforward and build accuracy into every step rather than adding complexity. When you are ready to plan related improvements, explore HomeVotel’s home-improvement and interior-design ideas for ways to connect your new storage with the rest of the room.
Frequently Asked Questions About a DIY Bookshelf
How much does a DIY bookshelf cost?
There is no single dependable materials price for a basic freestanding project because wood species, dimensions, finish, hardware, and tool ownership all affect the total. Current Angi guidance similarly notes that freestanding costs vary with wood choice and dimensions, while custom built-ins can cost considerably more. Compare local lumber prices after you create the cut list, so you can price the actual design rather than relying on a generic estimate.
How long does it take to build a simple bookcase?
A basic project can often be assembled in an afternoon when the lumber is ready, and the design is uncomplicated. BLACK+DECKER estimates about three hours plus drying time for its beginner project, while Home Depot lists roughly two to four hours for its intermediate example. Painting or staining can extend the project across a weekend because the finish needs adequate drying or curing time.
What depth works well for books?
About 11 to 12 inches is a practical depth for a general-purpose home unit because it accommodates many common books without using excessive floor space. Your own collection should determine the final measurement, particularly if you store large albums, binders, or baskets. Measure the deepest objects first and add enough clearance to use the shelf comfortably.
Can a beginner build one without a table saw?
Yes, depending on the design and material. A circular saw with a straight cutting guide can handle many plywood cuts, while a home-improvement store may also offer sheet-cutting services that reduce the amount of cutting required at home. Choose a plan that matches the tools you can use safely rather than buying complex equipment for a single project.
Do I need to attach the finished case to the wall?
A freestanding unit should be secured when it presents a tip-over risk, particularly in a home where children may climb or pull on furniture. The CPSC recommends anchoring bookcases and other heavy furniture securely to the wall. Use hardware appropriate for the wall construction and follow the anchor manufacturer’s installation directions.