
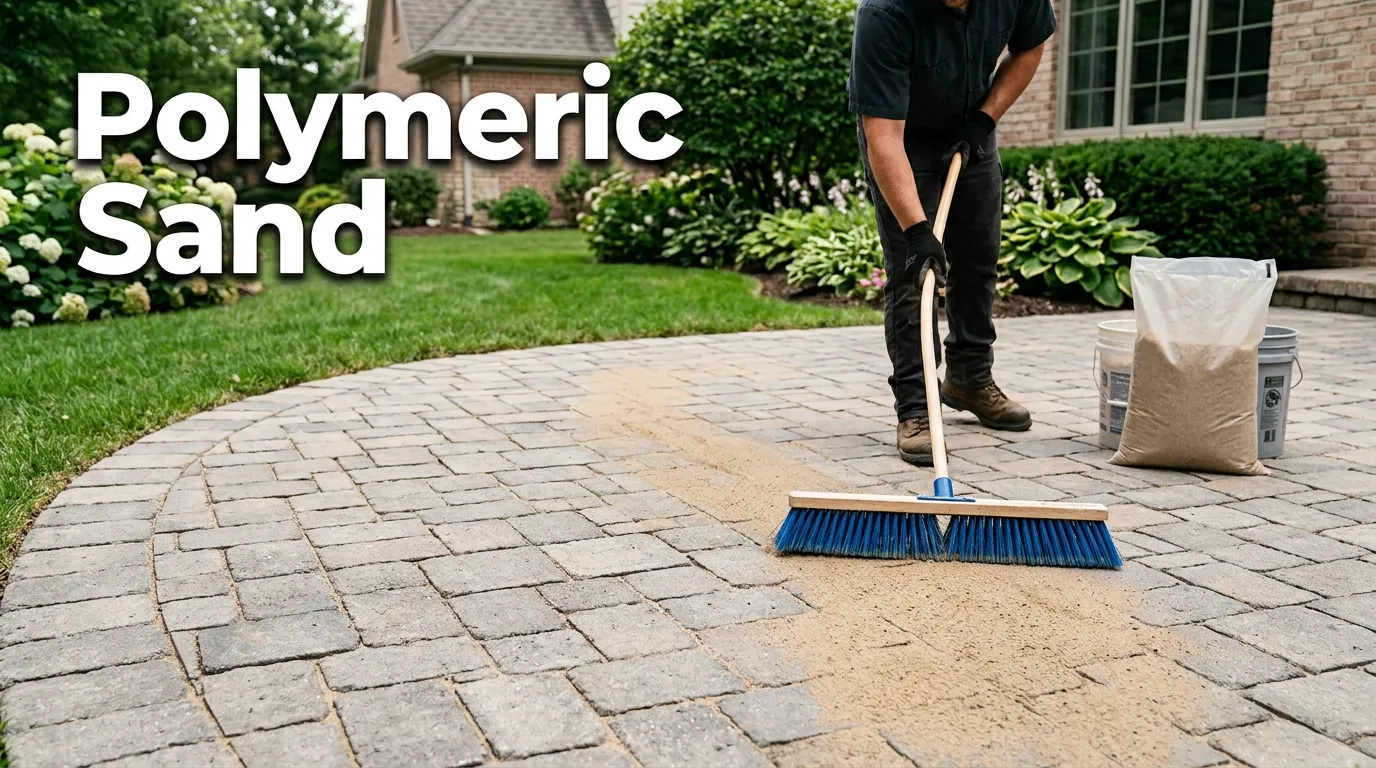
Polymeric sand can create cleaner, more stable joints between patio, walkway, and driveway pavers. It contains binding additives that activate when you add water. Correct installation helps resist erosion, weeds, and insects while keeping the finished surface neat.
Direct answer: It is jointing sand mixed with water-activated binders. You sweep it between compatible pavers, compact it, remove surface residue, and apply water as directed by the manufacturer. Once cured, the material forms firmer joints that resist washout, weed growth, and insect activity better than ordinary loose joint sand.
| Key fact | What homeowners should know |
|---|---|
| Main purpose | Filling and stabilizing joints between compatible pavers |
| Common uses | Patios, walkways, driveways, pool decks, and paths |
| Activation | Water activates the binding ingredients |
| Main benefits | Better washout resistance, joint stability, and weed suppression |
| Main risk | Poor installation can cause haze, weak joints, or premature failure |
| DIY difficulty | Manageable for careful homeowners, but preparation matters |
| Important rule | Follow the exact instructions printed for your chosen product |
What Is Polymeric Sand?
Polymeric sand combines graded sand with special binding additives. Those additives distinguish it from ordinary joint or paver sand. Water activates the binders after the material has filled the joints. Once cured, the joint becomes firmer while retaining some ability to handle normal movement. This helps the material stay between the paving units during rain and routine cleaning. It also makes established joints less inviting for weeds and insects.
This material belongs inside the joints rather than beneath the paving units. It cannot repair a weak base, poor drainage, or loose edge restraints. Those structural problems need correction before the joints are refilled.
Why Homeowners Use It Between Pavers
Loose joint sand can gradually disappear because of rain, wind, cleaning, and foot traffic. Missing material leaves open spaces that collect debris and seeds. Repeatedly topping up those joints also adds another maintenance job. When installed correctly, a bonded joint material reduces that movement. The finished joints can withstand ordinary weather better than loose sand. They also give patios and walkways a cleaner, more finished appearance.
Weeds are another common reason homeowners make the switch. The product can discourage growth by creating denser, more stable joints. It cannot guarantee a permanently weed-free patio because seeds can still germinate in surface debris. Homeowners planning a larger outdoor renovation should consider joint material during the design stage. HomeVotel’s guide to landscaping and patios explains other important paver-planning factors. These include drainage, edging, base preparation, and ongoing maintenance.
Polymeric vs. Regular Paver Sand
Both materials fill spaces between paving units, but they behave differently after installation. Ordinary joint sand remains loose and can be displaced more easily. A polymer-modified product binds together after proper water activation.
| Feature | Polymeric option | Regular joint sand |
|---|---|---|
| Binding additives | Yes | No |
| Water activation | Required | Usually not required |
| Washout resistance | Higher after correct curing | Lower |
| Weed resistance | Better joint resistance | More vulnerable to disturbance |
| Installation sensitivity | Higher | Lower |
| Initial material cost | Usually higher | Usually lower |
| Repair and removal | Can require more work | Generally easier |
Regular sand still makes sense in certain installations. It can suit projects where easy removal matters or where the paving system requires another jointing approach. The right choice depends on the pavers, base, drainage, joint dimensions, and manufacturer requirements.
How to Install Polymeric Sand Correctly
Follow the exact directions on the product bag. Brands differ in acceptable joint sizes, temperatures, watering procedures, and curing periods. Treat the following process as a general framework rather than a replacement for those instructions.
What You’ll Need:
- Compatible jointing material.
- Stiff-bristle broom.
- Soft broom or suitable blower.
- Plate or roller compactor when required.
- Garden hose with a gentle shower setting.
- Eye protection.
- Dust protection recommended by the manufacturer.
- Gloves.
- Suitable tools for removing old joint material.
1. Check the Pavers and Weather
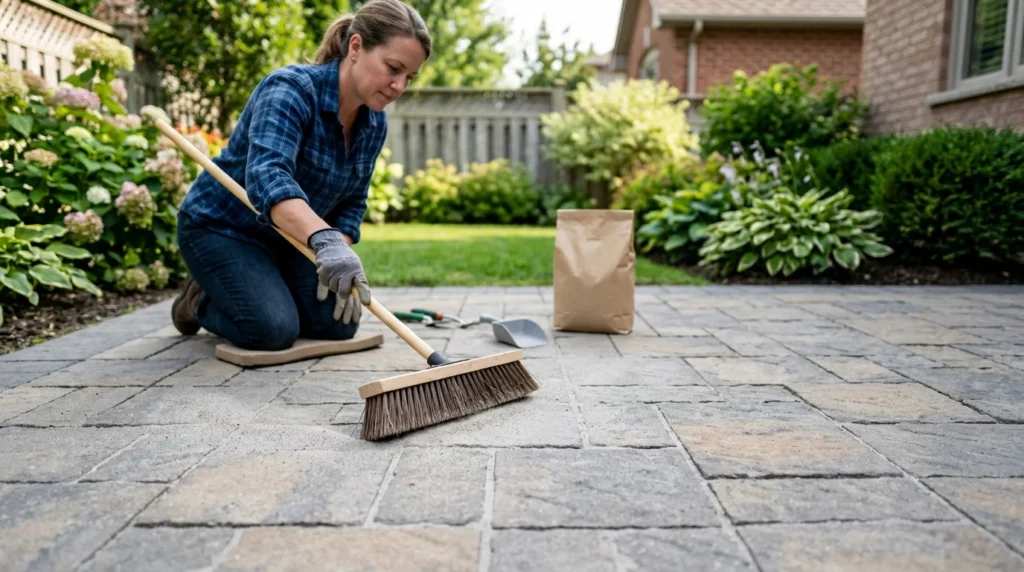
Start with clean, completely dry paving unless your chosen product specifically states otherwise. Moisture can activate binders before the sand reaches the bottom of each joint. That can create residue and prevent proper filling.
Check the forecast before opening the bags. Temperature and rain requirements vary widely by product. Follow the manufacturer’s stated installation and rain-safe windows exactly.
2. Prepare the Joints
New installations need stable pavers, proper edge restraint, and a properly prepared base. Existing surfaces usually require removing old joint material to the product’s specified depth. Filling only the top of a shallow joint can produce a weak cap.
Repair unstable paving before adding new joint material. Sand cannot correct rocking units, major settlement, or drainage failures. Those problems often return even after a perfect-looking surface application.
3. Sweep the Material Into the Gaps
Pour manageable amounts onto the dry paved surface. Sweep diagonally across the joints so the material falls evenly into the openings. Continue until the joints appear completely filled.
Pay extra attention to narrow gaps and textured surfaces. Sand can bridge near the top while leaving empty space underneath. Those hidden voids can cause the finished joint to settle later.
4. Compact and Refill the Joints
Many installations require mechanical compaction to settle the material deeply. Compaction removes hidden air pockets and can significantly lower the sand level. Add more material and repeat the process as needed.
Protect decorative or delicate paving surfaces during this step. Use the compaction method specified for your paver type. Incorrect equipment can scratch, chip, or crack certain paving units.
5. Remove Every Trace From the Surface
Carefully sweep excess material away before adding water. Fine polymer-containing dust left on the face can create staining or haze. Cleaning before activation is easier than correcting residue afterward.
Inspect corners, textures, and paver edges closely. A soft broom can handle the final cleanup on many surfaces. Use a blower only when the product instructions permit one.
6. Activate It With Water
Apply water exactly as the manufacturer directs. Too little water can leave lower sections dry and poorly bonded. Excessive or forceful water can wash material from the joints.
A gentle shower setting is common for many products. Work methodically so every section receives the required activation. Avoid blasting the joints with a concentrated stream.
7. Protect the Surface During Curing
Keep unnecessary traffic off the installation for the stated curing period. Protect the area from irrigation and other unwanted water when required. Different formulas become rain resistant at different rates.
Do not assume every bag follows the same schedule. Some newer formulas tolerate rain sooner than traditional products. Use the printed technical directions to determine when the surface returns to normal use.
Common Installation Mistakes That Cause Problems
Most disappointing results come from preparation or application, not the basic concept of bonded joint sand. Small mistakes become visible after activation. Careful work before watering can prevent many of them.
- Installing on damp pavers: Moisture can activate polymer dust on the surface.
- Leaving excess dust: Residue can create a noticeable film after watering.
- Skipping compaction: Hidden voids can cause joints to sink or weaken.
- Using too much water: Heavy flow can wash material from the gaps.
- Using too little water: The upper layer may cure while deeper material stays loose.
- Ignoring drainage problems: Joint filler cannot repair a poorly draining paver system.
- Filling only shallow joints: A thin surface layer can break apart sooner.
- Ignoring product specifications: Joint widths and installation conditions vary by formula.
How Long Does It Last?
There is no reliable lifespan that applies to every patio or driveway. Performance depends on the product, installation, climate, drainage, traffic, cleaning methods, and paver movement. Well-installed joints generally require less frequent replenishment than loose sand.
Inspect the paved area during routine outdoor maintenance. Look for cracking, missing sections, erosion, weeds, or joints that have settled noticeably. Early repairs are usually easier than waiting until large sections disappear.
Pressure washing also deserves care around filled joints. Aggressive cleaning can damage or erode joint material over time. Follow the paver and joint-material manufacturers’ maintenance recommendations.
Can Polymeric Sand Stop Weeds?
It can reduce conditions that favor weeds, but it isn’t a herbicide or permanent weed barrier. Dense joints make it harder for roots to establish between the paving units. They also reduce the loose material where seeds commonly settle.
Weeds can still appear when windblown soil and organic debris collect on top. Regular sweeping helps remove that growing medium. Address existing roots before refilling an older patio.
When Should You Avoid It?
Avoid treating joint sand as a repair for structural defects. Rocking pavers, severe settlement, failed edging, or standing water point to problems elsewhere in the installation. Correct those conditions before replacing the joint material.
Some paving systems also require specialized joint products. Wide gaps, permeable installations, natural stone, overlays, and unusual paving units can have different requirements. Verify compatibility with both the paving manufacturer and joint-product instructions.
Pool areas need particular attention to drainage and product compatibility. Homeowners redesigning these spaces can also review HomeVotel’s advice on extending a backyard pool and patio. Planning the surrounding hardscape first can prevent expensive corrections later.
Is It Worth Using for a Patio or Driveway?
For a compatible paver installation, bonded joint sand can be a practical upgrade over loose material. Its biggest advantages are stronger joint retention and reduced washout. Homeowners who want lower routine joint maintenance may find those benefits worthwhile.
The tradeoff is a less forgiving installation process. Dry conditions, complete filling, careful cleanup, and correct water activation all matter. Rushing one step can undermine the finished result.
If you’re already updating a driveway or walkway, evaluate the entire surface before focusing on the joints. HomeVotel’s curb-appeal improvement guide discusses repairing worn driveways and paths as part of exterior maintenance. A stable underlying installation should come before cosmetic finishing work.
Frequently Asked Questions
Does it get hard like concrete?
It becomes firm after its binders activate, but it isn’t concrete. Formulations are designed for paver joints and can retain some flexibility. The final hardness and behavior vary by product.
How long does it take to dry?
Curing and rain-safe times vary between manufacturers and formulas. Weather, drainage, temperature, and installation type can also affect the process. Read the current technical instructions for the exact product you’re using.
Can I put new jointing sand over old sand?
Simply covering weak old material is often a poor repair. Many manufacturers require you to clean existing joints to a specified depth before refilling. This gives the new material enough depth to perform correctly.
What happens if it rains after installation?
The outcome depends on whether the product has reached its stated rain-safe point. Rain arriving too early can interfere with curing or disturb the joints. Check the forecast and follow the product’s weather window before starting.
Why did my pavers turn white after installation?
A whitish film can result when polymer-containing residue remains on the paver surface during activation. Excess water or incorrect cleanup can contribute to the problem. Prevention is usually easier than removing hardened residue afterward.
Can this jointing sand fix loose pavers?
No jointing material should replace proper structural repairs. Loose units can indicate base, bedding, edge-restraint, or drainage problems. Stabilize the paving system first, then refill the joints with a compatible material.
The Bottom Line for U.S. Homeowners
Polymeric sand works best as one part of a properly built paver system. It can strengthen joints, resist washout, reduce weed problems, and lower routine maintenance. Those benefits depend heavily on correct preparation and water activation.
Choose a product approved for your paving material and joint dimensions. Read its current technical data before starting work. If the pavers are unstable or drainage is poor, repair those problems before replacing the joint material.
For larger projects, plan the patio, drainage, edging, and landscaping as one system. HomeVotel’s patio and landscaping resources can help you consider those surrounding decisions. Good preparation gives the finished joints their best chance of lasting.