

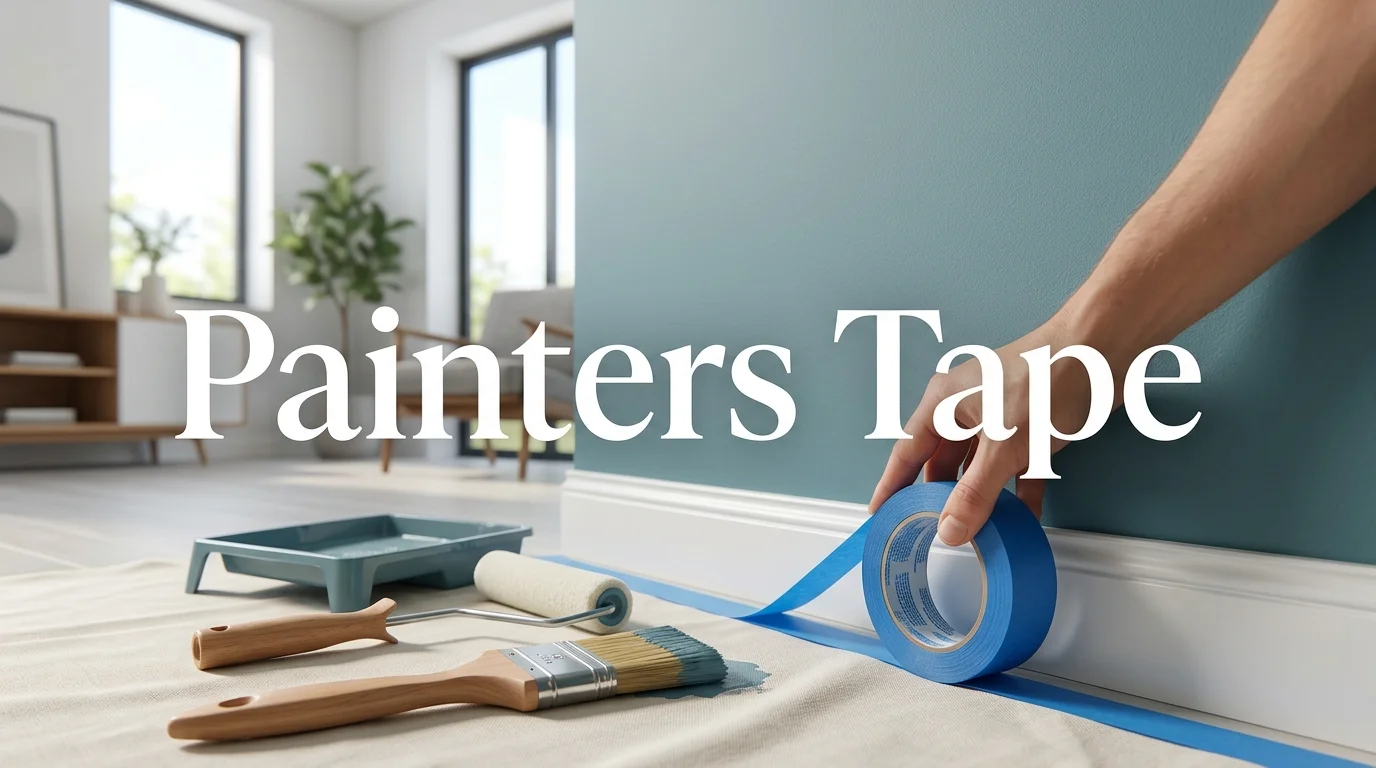
Painters tape can protect trim, walls, floors, glass, and fixtures during painting. The right roll depends on surface condition, adhesion, width, and project length. Good tape also needs careful application and timely removal.
Quick answer: Choose tape by surface sensitivity first, then match the width to your painting method. Clean and dry the surface before applying each strip. Press the paint-side edge firmly, avoid heavy paint buildup, and remove the tape slowly according to its label.
| Project need | Better tape choice | Main reason |
|---|---|---|
| Standard painted walls and trim | Multi-surface, medium adhesion | Balances grip with cleaner removal |
| Fresh or delicate finishes | Low-adhesion, delicate-surface tape | Reduces the risk of lifting the finish |
| Rough masonry or textured areas | Tape rated for rough surfaces | Provides stronger contact on uneven areas |
| Long projects | Tape with a longer clean-removal window | Helps reduce residue or difficult removal |
| Tight detail work | Narrower tape | Gives better control around corners and small trim |
| Rolling near baseboards or frames | Wider tape | Adds more protection from roller or brush contact |
Key Takeaways
- Match adhesive strength to the surface, not the tape color.
- Use delicate-surface tape on finishes that may lift or mark easily.
- Pick wider tape when you need more protection from rollers or brushes.
- Clean and dry the surface before applying tape.
- Seal the edge that faces the paint.
- Remove tape slowly and follow the maker’s timing instructions.
What Painter’s Tape Does
Painter’s tape creates a temporary boundary between painted and protected areas. It can reduce accidental brush marks, splatter, and uneven edges. It works best when the surface is clean and the edge is sealed.
The tape itself cannot correct poor surface preparation or rushed painting. Dust can weaken adhesion, while thick paint can bridge across the tape edge. A careful setup usually matters more than choosing the most expensive roll.
Painting is often one part of a larger room refresh. HomeVotel’s small home update ideas also cover wall color, lighting, flooring, and hardware. Those projects can help you plan a coordinated update instead of treating paint as an isolated change.
How to Choose Painters Tape for Your Project
Start with the surface you need to protect. Then consider how long the tape will stay in place. Finally, choose a width that suits your brush, roller, and available working space.
Match Adhesion to the Surface
Medium-adhesion tape suits many sound, fully cured interior surfaces. Low-adhesion tape is safer for delicate finishes, wallpaper, and recently painted areas. Rough-surface products use stronger adhesives for uneven or porous materials.
A stronger adhesive is not automatically better. Too much grip can damage a weak finish when you remove it. Too little grip can allow lifting, gaps, or paint seepage.
Test an uncertain surface in a hidden area before taping a whole room. This matters on older paint, decorative finishes, stained wood, and wallpaper. A short test can reveal weak adhesion before the project grows.
Choose the Right Width
Narrow tape gives better control around tight trim, corners, and detailed patterns. Wider tape gives you more protection beside baseboards, frames, and other exposed surfaces. Your painting tool should influence the amount of protected margin.
For brush work, a modest width may provide enough coverage. A roller often needs a wider safety zone near the protected edge. Large areas may also benefit from tape combined with masking paper or film.
Check the Clean-Removal Window
Tape labels usually state suitable surfaces and a recommended removal period. Follow that information instead of relying on color alone. Color varies by brand and does not create a universal performance standard.
Long projects need more planning than a one-day room refresh. Tape left on too long can become harder to remove cleanly. Sunlight, heat, moisture, and surface condition can also affect performance.
Painter’s Tape vs. Masking Tape
Painter’s tape and general masking tape may look similar, but their intended uses differ. Painting products are designed around temporary masking and controlled removal. General masking tape is often made for holding, labeling, bundling, or short utility tasks.
For visible paint edges, use a product specifically rated for painting. The adhesive and backing should match the surface and project length. This choice can reduce residue, tearing, and extra touch-up work.
If your paint project is part of a broader renovation, sequence matters. HomeVotel’s kitchen remodel planning guide explains why you should coordinate surfaces, fixtures, and major work early. Painting near the end can protect fresh finishes from avoidable construction damage.
How to Apply Painter’s Tape for Clean Lines
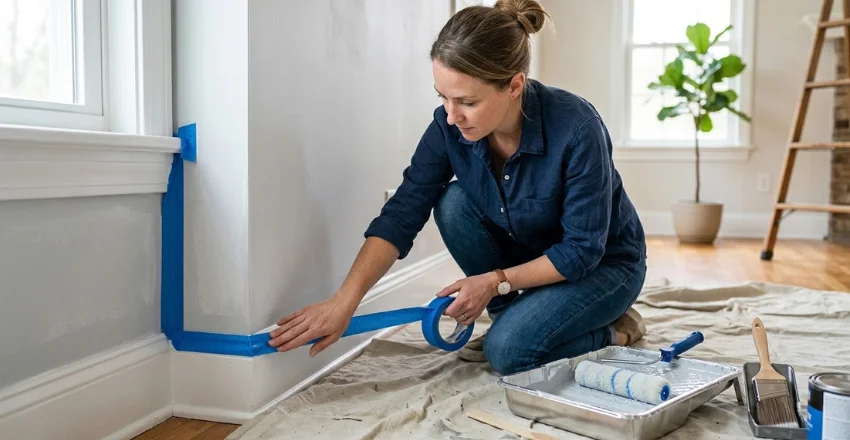
- Inspect the surface. Make sure the finish is stable enough for temporary adhesive.
- Clean the edge. Remove dust, grease, and loose debris before taping.
- Let the area dry. Moisture can reduce adhesion and weaken the seal.
- Apply manageable strips. Shorter sections are easier to guide around trim and corners.
- Press the paint-side edge. Use a clean finger or suitable tool to seal the boundary.
- Paint with control. Avoid flooding the tape edge with thick paint.
- Remove carefully. Pull slowly and follow the timing guidance printed on the tape.
Straight application helps, but edge sealing matters more. Small gaps can let liquid paint move beneath the tape. Press the boundary firmly without damaging the protected finish.
Do not stretch the tape aggressively while applying it. Stretched tape can pull away from corners or shift as tension relaxes. Let the material sit naturally along the surface.
How to Remove Tape Without Damaging the Finish
Removal should be slow, controlled, and consistent. Pull the strip back over itself rather than jerking it away from the wall. Stop if the paint film begins lifting with the tape.
A dried paint bridge can connect the painted surface to the tape. In that situation, carefully score the boundary with an appropriate sharp tool. Keep the blade shallow and away from surfaces that scratch easily.
Freshly painted areas need extra care. Dry-to-touch paint is not always fully cured or ready for another adhesive product. Follow the paint and tape manufacturers’ instructions before masking a new coating.
Common Tape Problems and Practical Fixes
| Problem | Likely cause | Practical fix |
|---|---|---|
| Paint bleeds under the edge | Dust, texture, gaps, or poor sealing | Clean first and press the paint-side edge firmly |
| Tape lifts before painting ends | Weak adhesion or surface contamination | Reclean and choose tape rated for that surface |
| Paint lifts during removal | Finish is weak, fresh, or tape is too aggressive | Stop, score the edge, and use lower adhesion next time |
| Sticky residue remains | Tape stayed too long or conditions affected adhesive | Follow the stated removal window on future projects |
| Tape tears during removal | Tape is old, brittle, or heavily coated | Pull slowly and work in shorter sections |
Most tape failures have more than one possible cause. Surface condition, adhesive strength, paint thickness, and removal timing all interact. Diagnose the problem before switching to a stronger tape.
Where Painter’s Tape Works Best
Common uses include baseboards, door trim, window frames, glass, cabinets, and accent-wall boundaries. The correct product depends on the finish underneath the adhesive. Read the surface list on the package before starting.
Textured walls can be harder because the tape cannot contact every low point. Rough-surface tape may hold better, but technique still matters. Press the edge into the texture without crushing a fragile finish.
How Much Tape Should You Buy?
Measure the linear edges you plan to mask before shopping. Add a small spare allowance for overlaps, corners, mistakes, and damaged sections. That approach is more reliable than guessing from room size.
If you are refreshing several finishes together, plan the order before buying supplies. HomeVotel’s aesthetic home update guide discusses paint alongside lighting, windows, hardware, and flooring. A clear sequence can reduce repeated masking and cleanup.
Frequently Asked Questions
What Is Painters Tape Used For?
Painters tape protects nearby surfaces while you paint edges, trim, walls, or decorative patterns. It also helps create straighter visual boundaries between colors. Results still depend on preparation, sealing, painting technique, and removal.
Can You Put Painter’s Tape on Freshly Painted Walls?
Use caution on any fresh coating. Paint may feel dry before it reaches enough hardness for adhesive. Check both product labels before applying tape to recently painted walls.
Why Does Paint Bleed Under Tape?
Bleeding often starts with dust, texture, gaps, or an unsealed edge. Heavy paint buildup can also push liquid beneath weak contact points. Better preparation and lighter application near the boundary can help.
Press the edge that faces the paint before starting. Keep the brush or roller controlled near that line. Avoid treating the tape as a barrier for excessive paint.
Should You Remove Tape While Paint Is Wet or Dry?
The safest timing depends on the tape and paint system. Follow the manufacturer’s removal directions for the products you used. Those instructions account for adhesive design and expected paint behavior.
If the painted edge has formed a firm film, score it carefully before pulling. This can prevent the coating from tearing beyond the intended line. Remove each section slowly instead of ripping long strips.
Does Tape Color Tell You Which Type to Buy?
Color can help identify a product line, but it is not a universal rating system. Two brands may use different colors for different adhesion levels. The label gives better guidance than color alone.
Check surface compatibility, adhesive strength, indoor or outdoor rating, and removal window. Those details matter more than appearance. Keep the package until the job is finished for reference.
Better Paint Lines Start With Better Preparation
Good masking combines the right tape with clean surfaces and controlled painting. Choose by surface, width, adhesion, and project length. Then apply and remove each strip with patience.
For a larger home refresh, connect painting with the other upgrades already planned. Protect finished surfaces as work progresses and avoid repainting areas that later construction may disturb. A few minutes of preparation can prevent much longer cleanup.